Creating a counting app is a fantastic way to learn the basics of web development. In this tutorial, we’ll walk you through building a simple counting application using HTML, CSS, and JavaScript. This project is beginner-friendly and will help you understand how these technologies work together.
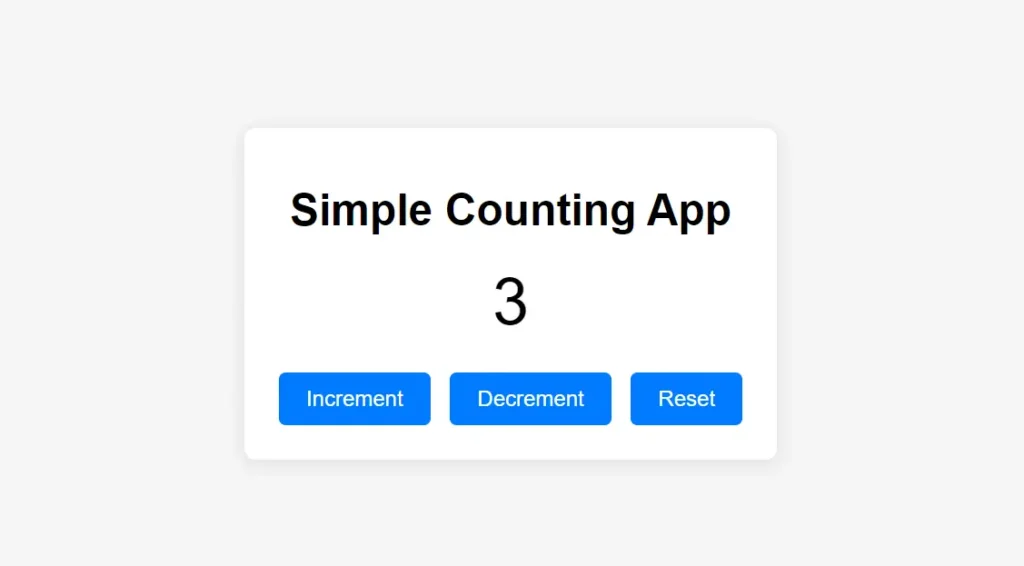
Table of Contents
- What You’ll Need
- Setting Up Your HTML Structure
- Styling with CSS
- Adding Functionality with JavaScript
- Final Touches
- Conclusion
What You’ll Need
To follow along, you’ll need:
- A code editor (like Visual Studio Code or Sublime Text)
- A web browser (like Chrome, Firefox, or Safari)
- Basic knowledge of HTML, CSS, and JavaScript
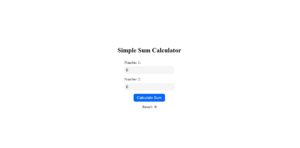
Setting Up Your HTML Structure
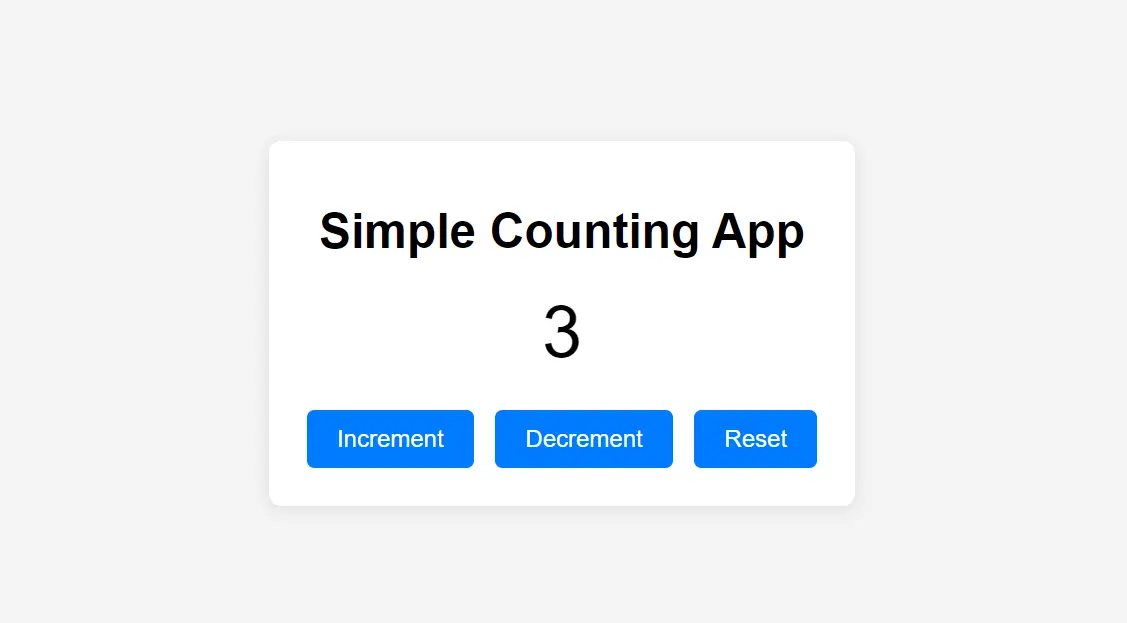
First, create an index.html file and set up a basic HTML structure. This will include a title, a display area for the count, and buttons for incrementing and decrementing the count.
<!DOCTYPE html>
<html lang="en">
<head>
    <meta charset="UTF-8">
    <meta name="viewport" content="width=device-width, initial-scale=1.0">
    <meta name="description" content="A simple counting app built with HTML, CSS, and JavaScript.">
    <title>Simple Counting App</title>
    <link rel="stylesheet" href="styles.css">
</head>
<body>
    <div class="container">
        <h1>Simple Counting App</h1>
        <div class="count-display" id="countDisplay">0</div>
        <button id="incrementButton">Increment</button>
        <button id="decrementButton">Decrement</button>
        <button id="resetButton">Reset</button>
    </div>
    <script src="script.js"></script>
</body>
</html>
Explanation
- The
<meta>tags improve SEO by providing relevant information about the page. - We link to an external CSS file (
styles.css) and a JavaScript file (script.js).
Styling with CSS
Next, create a styles.css file to add some basic styles. Here’s a simple stylesheet to enhance the app’s appearance.
body {
    font-family: Arial, sans-serif;
    background-color: #f4f4f4;
    display: flex;
    justify-content: center;
    align-items: center;
    height: 100vh;
    margin: 0;
}

.container {
    text-align: center;
    background: white;
    padding: 20px;
    border-radius: 8px;
    box-shadow: 0 2px 10px rgba(0, 0, 0, 0.1);
}

.count-display {
    font-size: 48px;
    margin: 20px 0;
}

button {
    padding: 10px 20px;
    font-size: 16px;
    margin: 5px;
    cursor: pointer;
    border: none;
    border-radius: 5px;
    background-color: #007BFF;
    color: white;
}

button:hover {
    background-color: #0056b3;
}
Explanation
- The CSS styles the body, container, count display, and buttons, providing a clean and modern look.
Adding Functionality with JavaScript
Now, create a script.js file to add functionality to the buttons. Here’s a simple JavaScript code snippet:
let count = 0;

const countDisplay = document.getElementById('countDisplay');
const incrementButton = document.getElementById('incrementButton');
const decrementButton = document.getElementById('decrementButton');
const resetButton = document.getElementById('resetButton');

incrementButton.addEventListener('click', () => {
    count++;
    countDisplay.textContent = count;
});

decrementButton.addEventListener('click', () => {
    count--;
    countDisplay.textContent = count;
});

resetButton.addEventListener('click', () => {
    count = 0;
    countDisplay.textContent = count;
});
Explanation
- We set an initial count of 0.
- Event listeners are added to each button to update the count when clicked.