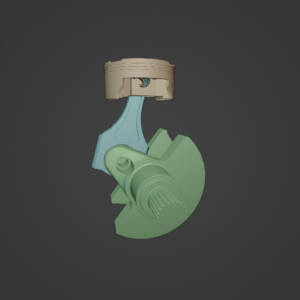
When you save a Blender project file, by default, Blender generates a thumbnail image based on the default 3D Viewport for the file icon. However, you can set a custom thumbnail image for your Blender project file. Here’s how to do it:
1st Way I Recommend
2nd way
- Open the Blender project file for which you want to set a custom thumbnail image.
- In the 3D Viewport, select the camera that you want to use for the thumbnail image. You can also create a new camera if you want to use a specific angle or composition for the thumbnail image.
- Switch to the Camera View by pressing Numpad 0.
- Press F12 to render the image.
- After the render is complete, save the image to your computer.
- In the File Browser window, navigate to the directory where the Blender project file is saved.
- Right-click on the Blender project file and select “Properties”.
- In the Properties panel, under the “Preview” tab, click the “Custom Thumbnail” button.
- Select the image file that you saved earlier.
- Click the “Save User Settings” button to save the custom thumbnail image.
Now, when you view the Blender project file in the File Browser, the thumbnail image will be the one that you set.


